You are using an out of date browser. It may not display this or other websites correctly.
You should upgrade or use an alternative browser.
You should upgrade or use an alternative browser.
October 2006 Challenge 1 - Halloween!
- Thread starter Joke
- Start date
greenpease
New member
I love the look! Great Job!
iiifugaziii
Well-known member
ooo that's awesome!!! great freakin' job!! K you gotta tell me what you used!
Kristen
Well-known member
I'll post a tutorial with pictures after my midterms "finish" (as in one round of them.. hopefully wednesday). These are the exact steps I did. I have a couple of beefs with them already, that I'll remedy/test-out before next round.
Face
1) Moisturizer/foundation/concealor. I don't use foundation, so I just made sure to moisturize my face well so the colours would stick. If you use foundation do so.. and maybe don't set your face with powder (i may be wrong....)
2) Pearl CCB (or any other white cream product). Apply it to the underside of the nose, above the brows, between the eyes, under the eyes (forming a C around your eye) and as a triangle spreading out from the nose to the chin. You want opaque coverage, so repeatedly apply a layer and allow it to dry. Apply the CCB along the jawline in a sheer-er layer. Blend the opacity as you go out from the mouth triangle.
3) Matte-ish white shadow (I used the off-white one from Too Faced's Pop Rock Duo). Use a large eyeshadow brush (largest one I had was the 246) to apply it above the brows, between the eyes and along the jaw-line. This shadow has meh pigmentation.. and I didn't want these areas overly emphasized.
4) Crystal Avalanche Apply to beneath the eyes, under the nose and on the mouth triangle.
5) Golden Bronzer Apply all over your face (minus the 'whited-out' areas as you would a powder. I used the 187. The bronzer should give you a slightly orange/tanned hue. Yes.. it should look unnatural, but not roasted-turkey unnatural. Plus shimmer is fun.
6) Matte Bronze Bronzer Applied this as I would my normal bronzer (but with a heavier hand) to my forehead, cheek "hollows", temples and my nose. 187.
7) Blending I should've blended more.. but yes.. blend ... everywhere.
8) Sable Darken the sides of your nose.... by your nostrils. I'm not sure how well this will work for everyone else, but my nose is shaped funny so it 'worked'.
Eyes
1) Bamboom Blend out as an eye base. I extended it up to my brow bone. 213... I'm sure you ladies know what brushes to use and whatnot
2) Woodwinked Wash with an intense vertical line by the nosebridge. 239.
3) Chocolate brown Sheer in crease (272) and intense in the outer V (219)
4) Black Gel Liner (I used tarte just because) Dramatic cat's eye with a nice ol' wing. 263. Apply to the waterline. 316.
5) Mascara Yup.. loads of it. As usual, 2000 Calorie, Fibre Rich and Full n' Soft.. all in one go
6) 4 Lashes Apply em'. These weren't as dramatic as I'd want.. trying something new next time.
7) Crystal Avalanche Reapply under the eyes for any fallout. 246 or 228 (depending on where it is)
For some reason I didn't highlight my brow bone.. I think it works?
Lips
1) Lip conditioner you don't want them to dry out so make sure they're good and ready
2) Black gel liner Cover your lips. 316. I wanted a harsh cupids bow (I have none
 ) so I extended outside my lipline. Big mistake.. next time I'll conceal and try again. Extend your mouth out past the corners of our mouth. 263/316.
Black Adornments
I'm not too positive how well this will work on people with different nose shapes. Mine is pretty rounded (button? pig? snub?) with PROMINENT nostrils. As you can constantly see into them. It's super hot. Since my nostrils are so prominent I based the nose shape around them, encorporating them into the black.
Black Gel Liner I traced around the outside of my nose with the 316 and bordered my nose.... I'll have pictures in the actual tutorial. And yes, I DID colour the immediate inside of my nose. I'm not weird.
Draw a line down your philtrum from your nose to your lips. 263 again.
Make arcs of whiskers (dots) going from the sides of your upper lip to the edge of your cheekbones. (209 shaped brush). Start your dots small and decrease the spacing between them so the last ones are short squiggles.
Make random cheetah spots! Use the 316 (I love you 316) to make random smears and 'circles'. At the center of your face, use a pattern of small circles and 'c' shapes. As you go further out, incorporate larger 'spots. I'll try to illustrate them in the full tutorial. Here they are pretty crappy (faded and badly shaped). Next time, after your have all your spots done, go over them a second time and then apply carbon shadow to intensify them. If you want to be a little bit snazzier, use black tied (or any black and sparkly shadow) to cover the spots that land on the areas of your face you highlight.
More less that's what I did.. but I will definately have a better version soon.
Face
1) Moisturizer/foundation/concealor. I don't use foundation, so I just made sure to moisturize my face well so the colours would stick. If you use foundation do so.. and maybe don't set your face with powder (i may be wrong....)
2) Pearl CCB (or any other white cream product). Apply it to the underside of the nose, above the brows, between the eyes, under the eyes (forming a C around your eye) and as a triangle spreading out from the nose to the chin. You want opaque coverage, so repeatedly apply a layer and allow it to dry. Apply the CCB along the jawline in a sheer-er layer. Blend the opacity as you go out from the mouth triangle.
3) Matte-ish white shadow (I used the off-white one from Too Faced's Pop Rock Duo). Use a large eyeshadow brush (largest one I had was the 246) to apply it above the brows, between the eyes and along the jaw-line. This shadow has meh pigmentation.. and I didn't want these areas overly emphasized.
4) Crystal Avalanche Apply to beneath the eyes, under the nose and on the mouth triangle.
5) Golden Bronzer Apply all over your face (minus the 'whited-out' areas as you would a powder. I used the 187. The bronzer should give you a slightly orange/tanned hue. Yes.. it should look unnatural, but not roasted-turkey unnatural. Plus shimmer is fun.
6) Matte Bronze Bronzer Applied this as I would my normal bronzer (but with a heavier hand) to my forehead, cheek "hollows", temples and my nose. 187.
7) Blending I should've blended more.. but yes.. blend ... everywhere.
8) Sable Darken the sides of your nose.... by your nostrils. I'm not sure how well this will work for everyone else, but my nose is shaped funny so it 'worked'.
Eyes
1) Bamboom Blend out as an eye base. I extended it up to my brow bone. 213... I'm sure you ladies know what brushes to use and whatnot
2) Woodwinked Wash with an intense vertical line by the nosebridge. 239.
3) Chocolate brown Sheer in crease (272) and intense in the outer V (219)
4) Black Gel Liner (I used tarte just because) Dramatic cat's eye with a nice ol' wing. 263. Apply to the waterline. 316.
5) Mascara Yup.. loads of it. As usual, 2000 Calorie, Fibre Rich and Full n' Soft.. all in one go
6) 4 Lashes Apply em'. These weren't as dramatic as I'd want.. trying something new next time.
7) Crystal Avalanche Reapply under the eyes for any fallout. 246 or 228 (depending on where it is)
For some reason I didn't highlight my brow bone.. I think it works?
Lips
1) Lip conditioner you don't want them to dry out so make sure they're good and ready
2) Black gel liner Cover your lips. 316. I wanted a harsh cupids bow (I have none

Black Adornments
I'm not too positive how well this will work on people with different nose shapes. Mine is pretty rounded (button? pig? snub?) with PROMINENT nostrils. As you can constantly see into them. It's super hot. Since my nostrils are so prominent I based the nose shape around them, encorporating them into the black.
Black Gel Liner I traced around the outside of my nose with the 316 and bordered my nose.... I'll have pictures in the actual tutorial. And yes, I DID colour the immediate inside of my nose. I'm not weird.
Draw a line down your philtrum from your nose to your lips. 263 again.
Make arcs of whiskers (dots) going from the sides of your upper lip to the edge of your cheekbones. (209 shaped brush). Start your dots small and decrease the spacing between them so the last ones are short squiggles.
Make random cheetah spots! Use the 316 (I love you 316) to make random smears and 'circles'. At the center of your face, use a pattern of small circles and 'c' shapes. As you go further out, incorporate larger 'spots. I'll try to illustrate them in the full tutorial. Here they are pretty crappy (faded and badly shaped). Next time, after your have all your spots done, go over them a second time and then apply carbon shadow to intensify them. If you want to be a little bit snazzier, use black tied (or any black and sparkly shadow) to cover the spots that land on the areas of your face you highlight.
More less that's what I did.. but I will definately have a better version soon.
lilibat
Well-known member
first post, actually
I am getting married Octobre 30th, Devil's night. My dress is over-the-top gothic restoration style in black velvet, lace and blue/purple moire silk with celtic and swarovski heliotrope jewelry and beadwork on the dress. I did a test run of the makeup I am probably going to do for the wedding while trying the dress on recently, and since that's pretty much what I am wearing for halloween I guess I'll post it.

I'm sure Mac hyacinth eye pencil isn't especially lip safe, but I really like the way it looks and I usually only wear it on special ocassions.
I am getting married Octobre 30th, Devil's night. My dress is over-the-top gothic restoration style in black velvet, lace and blue/purple moire silk with celtic and swarovski heliotrope jewelry and beadwork on the dress. I did a test run of the makeup I am probably going to do for the wedding while trying the dress on recently, and since that's pretty much what I am wearing for halloween I guess I'll post it.

I'm sure Mac hyacinth eye pencil isn't especially lip safe, but I really like the way it looks and I usually only wear it on special ocassions.
hyperRealGurl
Well-known member
wow i really like this..... very creative
glittergoddess27
Well-known member
Wow Lilibat that is so cool! Where did you get the circlet that you are wearing??
Ambonee
Well-known member
Still working on my costume this year...
The bf and I are going as Homer and Marge Simpson (I'll post pics later) but since I wasn't a member here last year I thought I'd post last years looks
 the bf and I were Elphaba and Fiyero (aka the Wicked Witch of the West and the Scarecrow) We got loads of compliments especially from the Wicked fans.
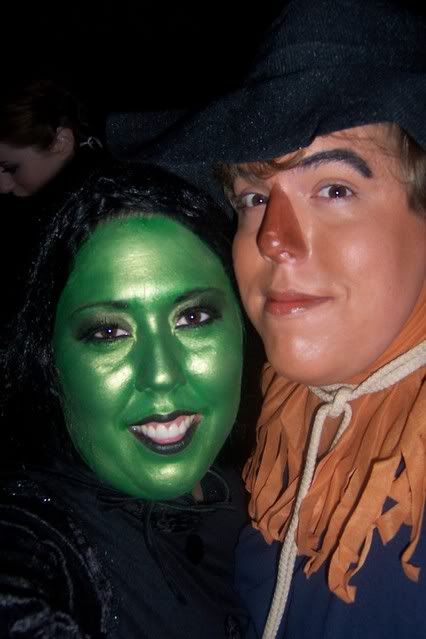
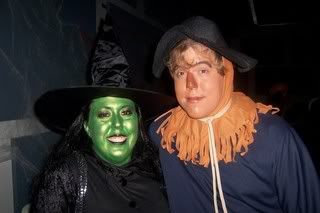
used
on me:
MAC chromacake in landscape green
golden olive p/m
purple haze e/s
carbon e/s
some cheap black lipstick
lashes #7
on the bf:
my baby sisters foundation (she's a lot darker than him) in C7
MAC chromacake in deep brown (I should have set this) on nose and lips.
Engraved e/l (for eyebrows)
that's all folks!
(I'll post this years look when it's completed)

I LOVE HALLOWEEN!!!
The bf and I are going as Homer and Marge Simpson (I'll post pics later) but since I wasn't a member here last year I thought I'd post last years looks


used
on me:
MAC chromacake in landscape green
golden olive p/m
purple haze e/s
carbon e/s
some cheap black lipstick
lashes #7
on the bf:
my baby sisters foundation (she's a lot darker than him) in C7
MAC chromacake in deep brown (I should have set this) on nose and lips.
Engraved e/l (for eyebrows)
that's all folks!
(I'll post this years look when it's completed)

I LOVE HALLOWEEN!!!
Quote:
that friggin wicked. the chroma cake must work really well. haha wonderful wizard of oz
that friggin wicked. the chroma cake must work really well. haha wonderful wizard of oz
hyperRealGurl
Well-known member
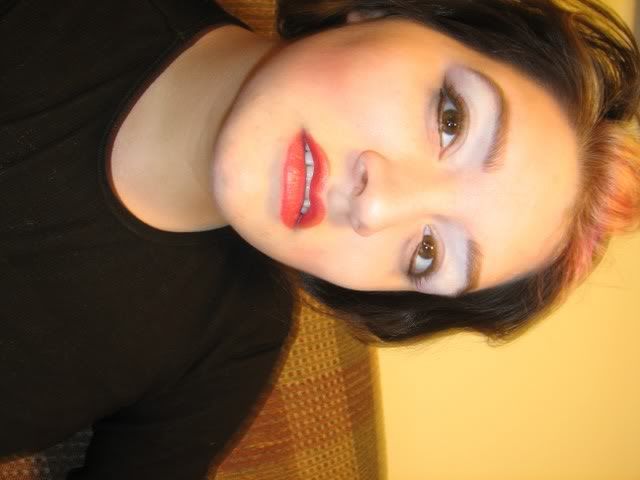
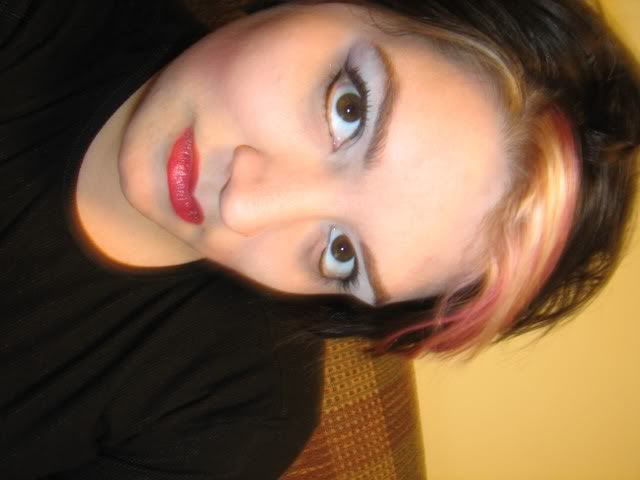
what the hey ill add mines even though i posted it in the members fotd section.. but it goes with halloween so i guess its cool...
I changed the eye color on photoshop in these pics


I changed the eye color on photoshop in these pics


